
Syncing Hazel rules between macOS computers
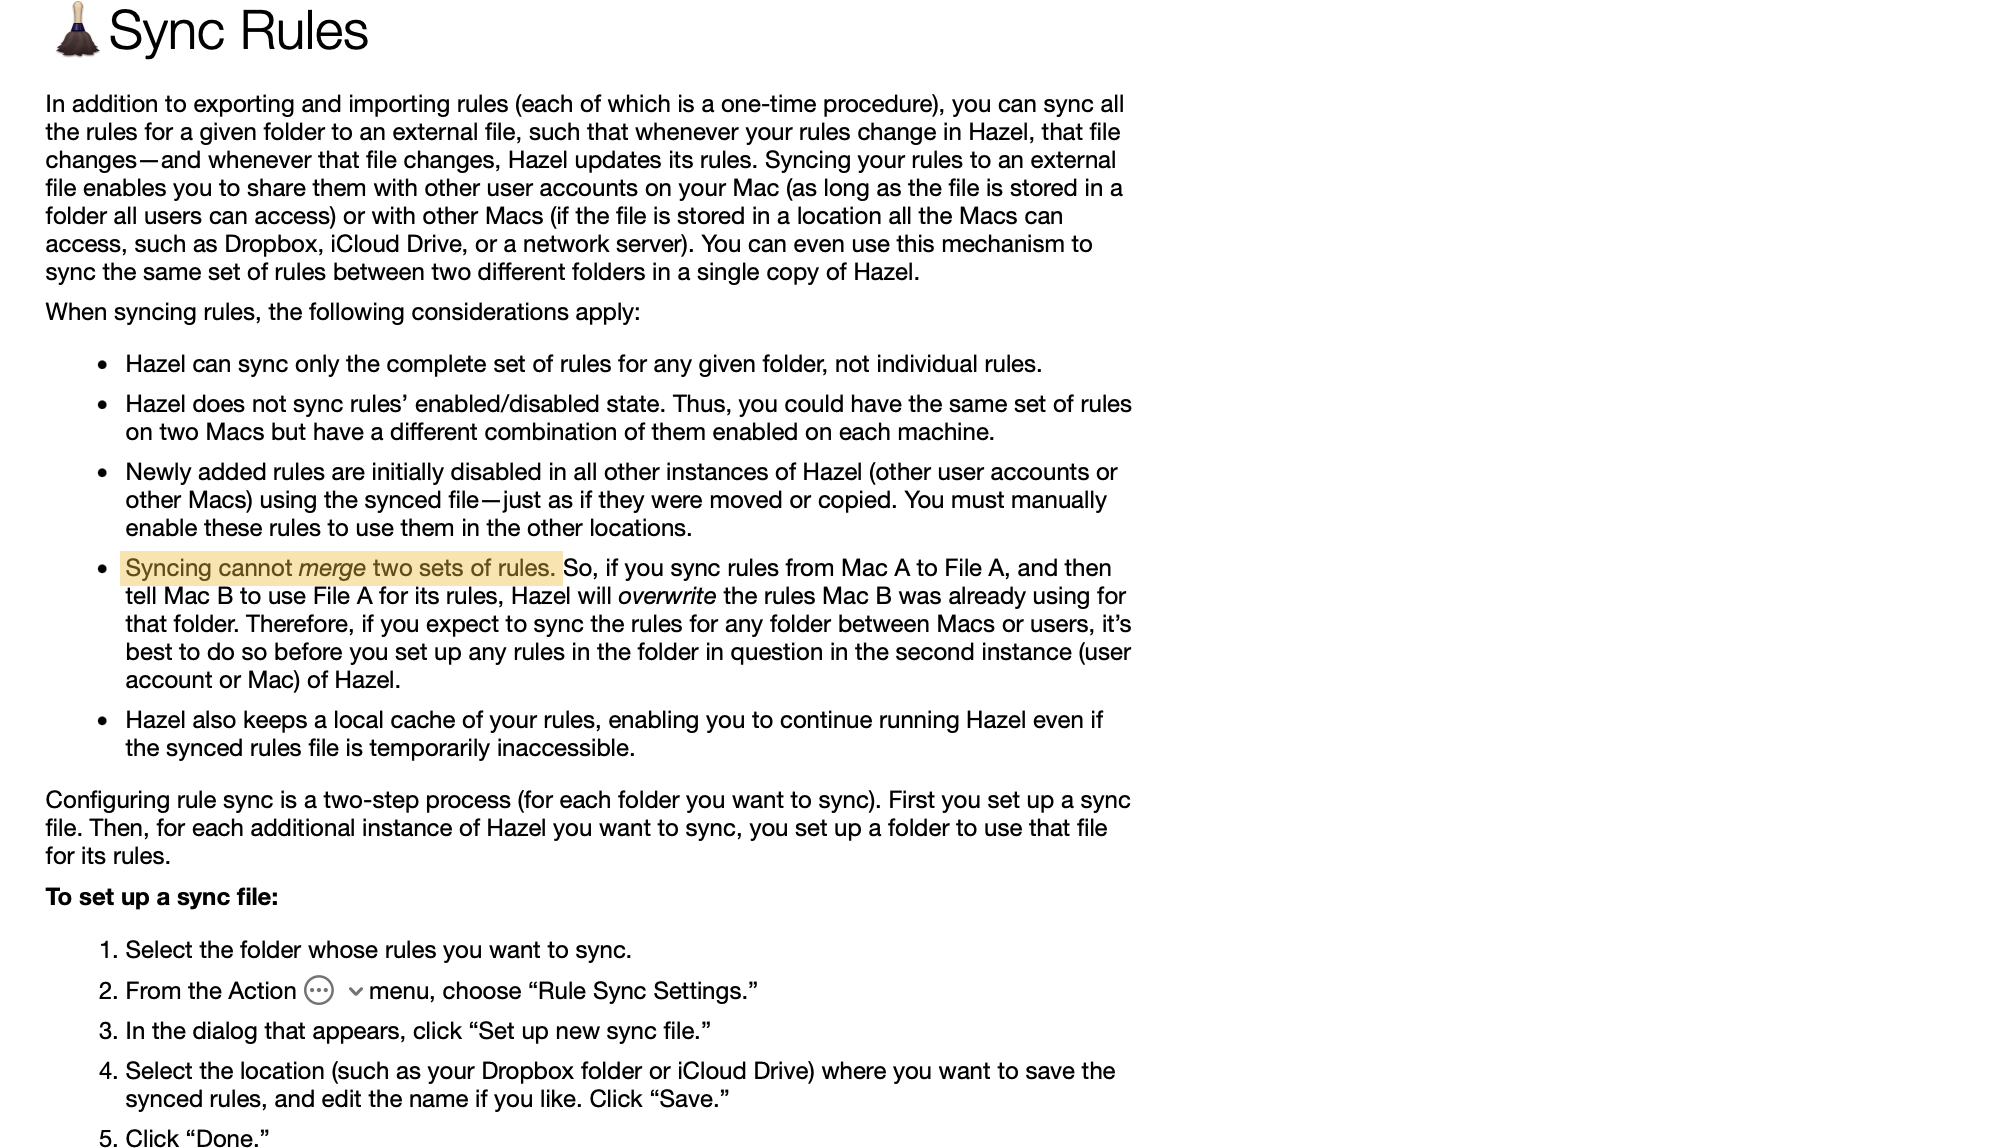
Hazel is a filesystem utility application that performs housekeeping activities on macOS directories. When it detects a change in a directory, it executes actions on files there based on matching criteria. That’s the good news. The bad news is that “sync,” in the way Hazel uses the term, means that all Macs share all the rules for a given shared directory. Individual rules cannot be excluded. For a given directory, the same rules run on all Macs that share it. Working around this takes some finagling. But if you’re a Hazel user, you’re probably already the sort that doesn’t mind some hacking. The workaround involves a few steps:
- Establishing a common merged set of rules for a directory.
- Adding computer-specific rule criteria.
- Editing rule actions per computer.
We’ll take each of these in turn.
Establish a common merged set of rules
This is the trickiest part of the process. The goal is to first create two sync files, one for Mac A and one for Mac B. Create these on a shared drive. I used my iCloud Drive, but other synced shares are fine. See Hazel Help for details on setting up rule sync.
Initially, I had hoped that .hazelrules files were XML or JSON or the like, because that would facilitate merging rules between computers. But no such luck; it’s more complicated than that. Using xxd, I examined the .hazelrules file structure and found:
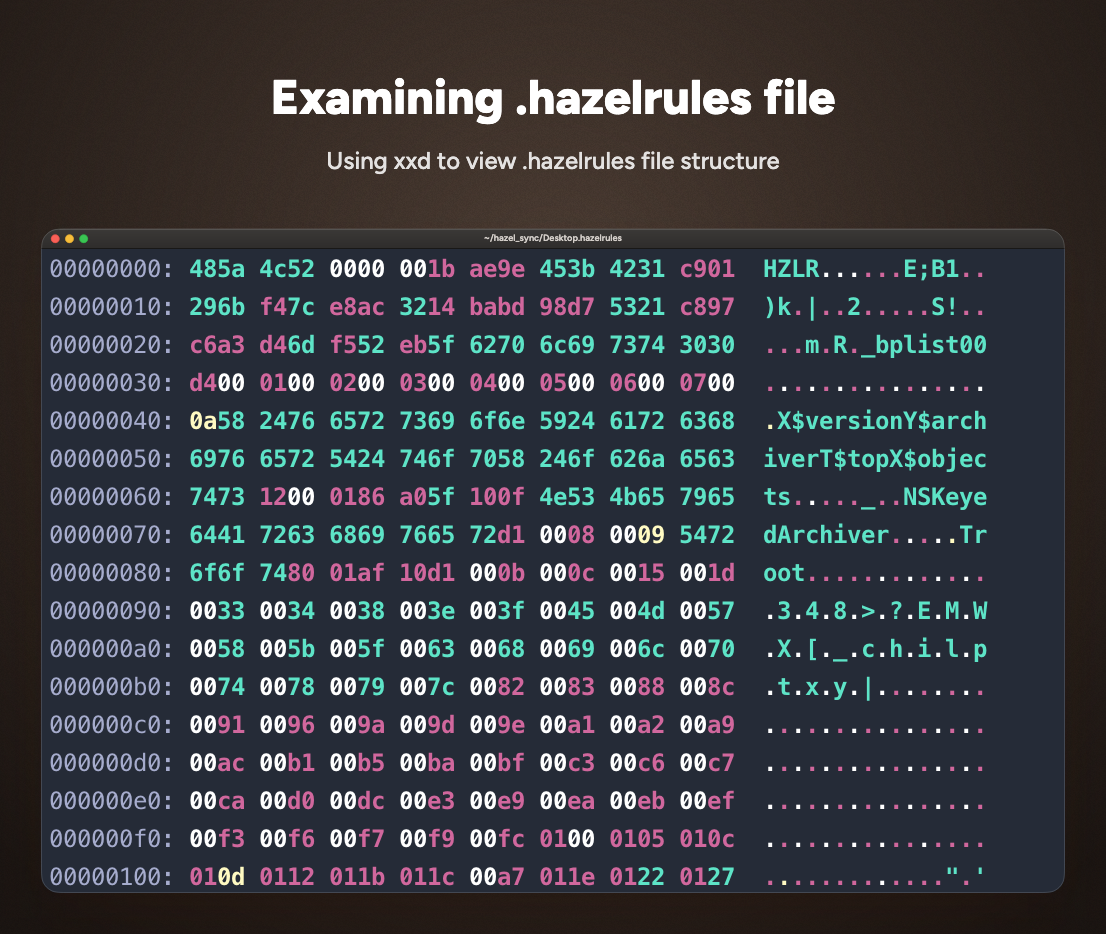
So, a .hazelrules file has two layers:
- A 40-byte Hazel header:
HZLR(4 bytes), a 4-byte field whose value is27in these files, and a 32-byte SHA-256 checksum of the remaining bytes. I haven’t established what the27field means. Maybe it’s a version; I don’t know. - A binary property list: This is an Apple
NSKeyedArchiverarchive. Its$topentry points to aHazelRuleSet, which points to an ordered list ofHazelRuleobjects.
Each rule stores its name, identifier, modification date, conditions, actions, and options. Conditions are archived predicate objects; actions include objects such as “move to Trash” or “run shell script.” The archive uses numbered object references (UIDs), so a rule is a graph of linked objects rather than one self-contained block.
This is the point where, if I were more industrious, I would write an application to extract the original object graph and do some sort of intelligent merging. Maybe I will dive into that someday. But for now, I just allowed codex to examine the files and merge them. That way, it could properly repackage the merged files and compute the new checksum. With a little guidance from me—“For rule x, use the version from Computer A,” etc.—codex did a great job of merging.
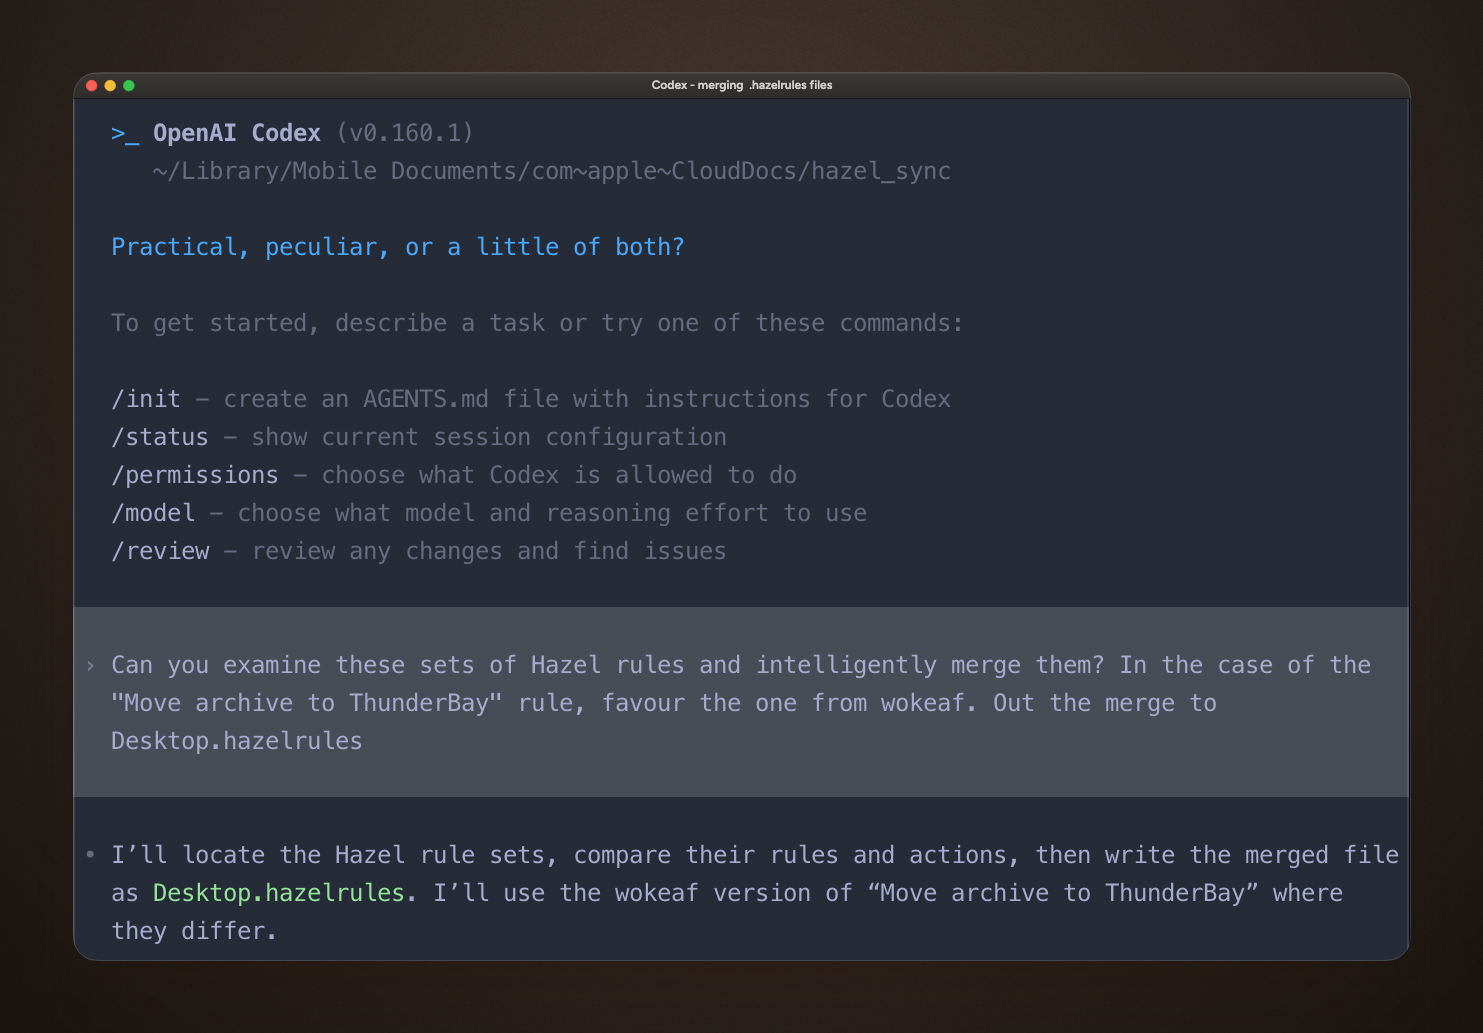
Once the files are satisfactorily merged, point the sync location for the affected directories on both Computer A and Computer B to the new merged .hazelrules file.
Using the computer name as a criterion
One of the problems with syncing rules between computers is that a given rule may apply to only one of them. Because Hazel syncing is a blunt instrument, there is no way to exclude rules from sync. It’s all or nothing. To circumvent that issue, you can create a criterion for the computer name. For example, if a rule should run only on my laptop, whose hostname is WokeAF.local, I can use hostname -s to act as a gate for the rule. To do this, add a “Passes shell script” criterion to an existing rule that you want to run only on that computer.
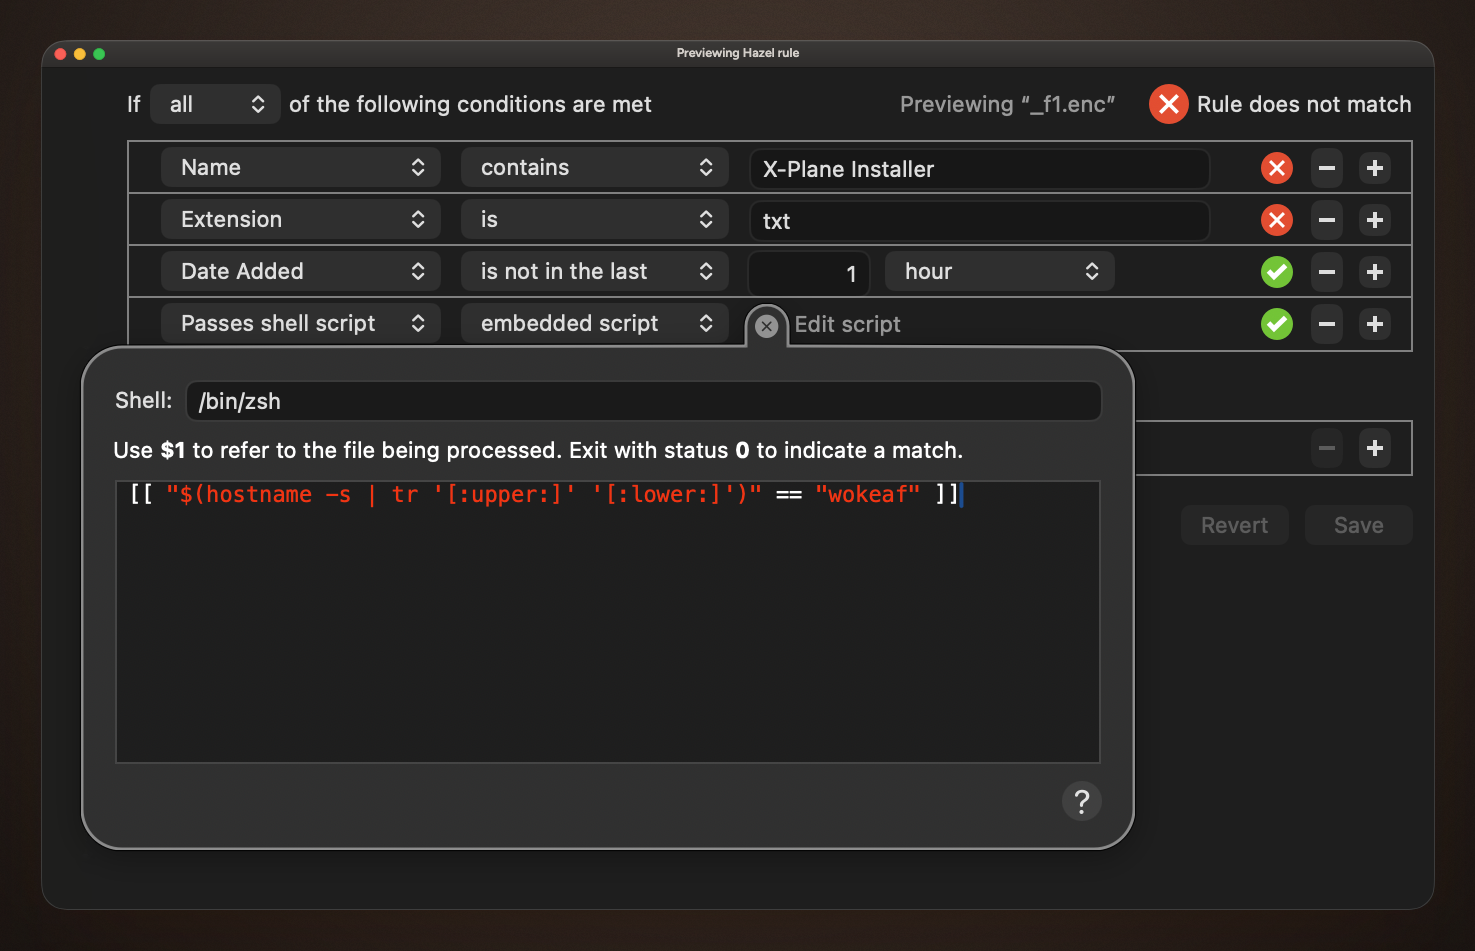
In the “Passes shell script” condition, when the script exits with 0, the criterion succeeds for this file. When the script exits with 1, the criterion fails. Succinctly, it’s:
# Use whatever computer name you want to run the rule
[[ "$(hostname -s | tr '[:upper:]' '[:lower:]')" == "wokeaf" ]]
Edit rule actions per computer
Some rule actions will also need to be modified to provide alternatives per computer. In this case, you must use the “Run shell script” action and provide conditional logic there. For example, my laptop and desktop are named “WokeAF” and “Vyger,” respectively, so I could set up the shell script logic in this way:
COMPUTER="$(hostname -s | tr '[:upper:]' '[:lower:]')"

case "$COMPUTER" in
    WokeAF)
        echo "Running WokeAF-specific actions"
        # commands for WokeAF go here
        ;;

    Vyger)
        echo "Running Vyger-specific actions"
        # commands for Vyger go here
        ;;

    *)
        echo "Unknown computer: $COMPUTER" >&2
        exit 1
        ;;
esac

exit 0
Alternatively, if you prefer not to use “Run shell script” actions and just want to use the built-in actions, you could create duplicate rules with different hostname criteria and different actions.
I wish this were a lot easier. And I wish that I did not have to use an LLM agent to complete the merger. (Though I’m happy it worked so well!) It’s entirely possible there may be an easier way to go about this. If you know of a better method, or if you just have questions or comments, please use my contact page.