Growing hot peppers in cooler climates - germination and early indoor care
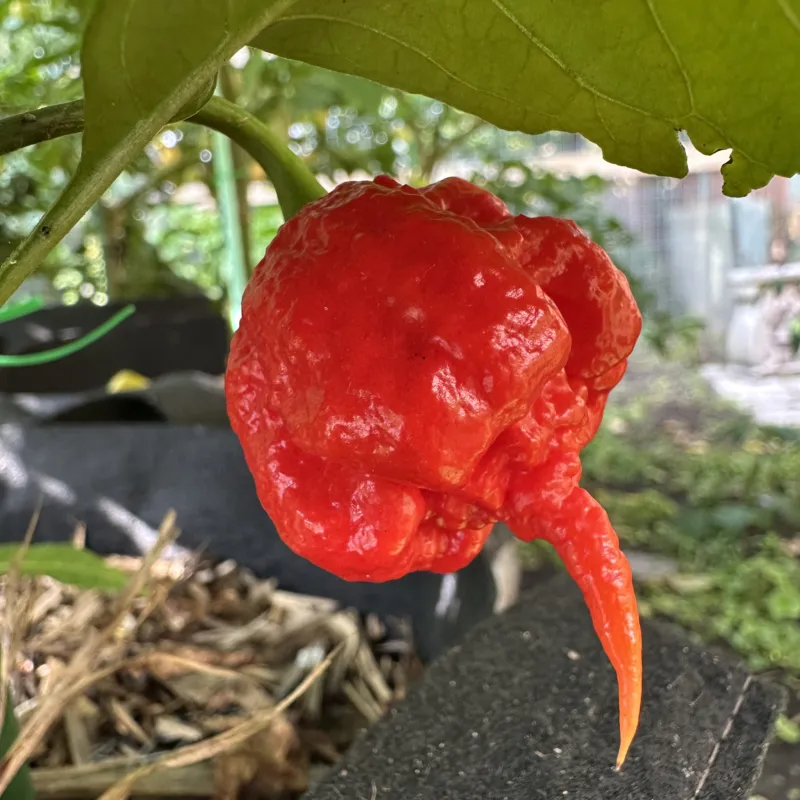
Growing Capsicum sp. in general is a challenge in cooler climates because these are all relatively long growing season plants. Hot peppers, particularly certain varieties, present an especially complicated challenge because their growing season greatly exceeds the number of suitable days available. I live in Ontario, Canada, and without many weeks of indoor preparation, growing my beloved hot peppers would be impossible. Instead, with some planning and preparation, we can grow exotic varieties like the RXM SLP shown in this post.
Seed preparation
My main goal in preparing the seeds for germination is to achieve consistency. I’ve taken a bit of flak online about how fussy my process is. But my goal isn’t complexity; it’s consistency. The process I’m describing in the steps below achieves high germination rates, fast germination, and low rates of seed loss. If it’s too complicated, modify it, or just throw some seeds in any soil and you will probably get some germination. Maybe even acceptable rates of germination. But here’s the thing. If you are already dealing with a short growing season, if you are waiting around for a month to see if something is going to finally germinate, then you may have already lost your window for successful re-planting.
Timing
Here in zone 6B, many varieties need to be started indoors in late January to early February. Wild types often need the most time, so I have begun those in January. Jalapeños can wait until mid-February.1 One experienced hot pepper grower and YouTuber from the Minneapolis-St. Paul area in the U.S. recommends Super Bowl Sunday as the proper time to plant seeds.
Soaking
For many growers in the hot pepper community, pre-soaking seeds before planting in germination media is a necessary step. Others reserve pre-soaking for only the most resistant varieties including wild types like Chiltepin or some C. chinense variants. Likewise, there are differing opinions about what to soak the seeds in. Some use tap water, or distilled water. Others use dilute hydrogen peroxide or black tea for its tannin content. I haven’t done a head-to-head comparison of these techniques.
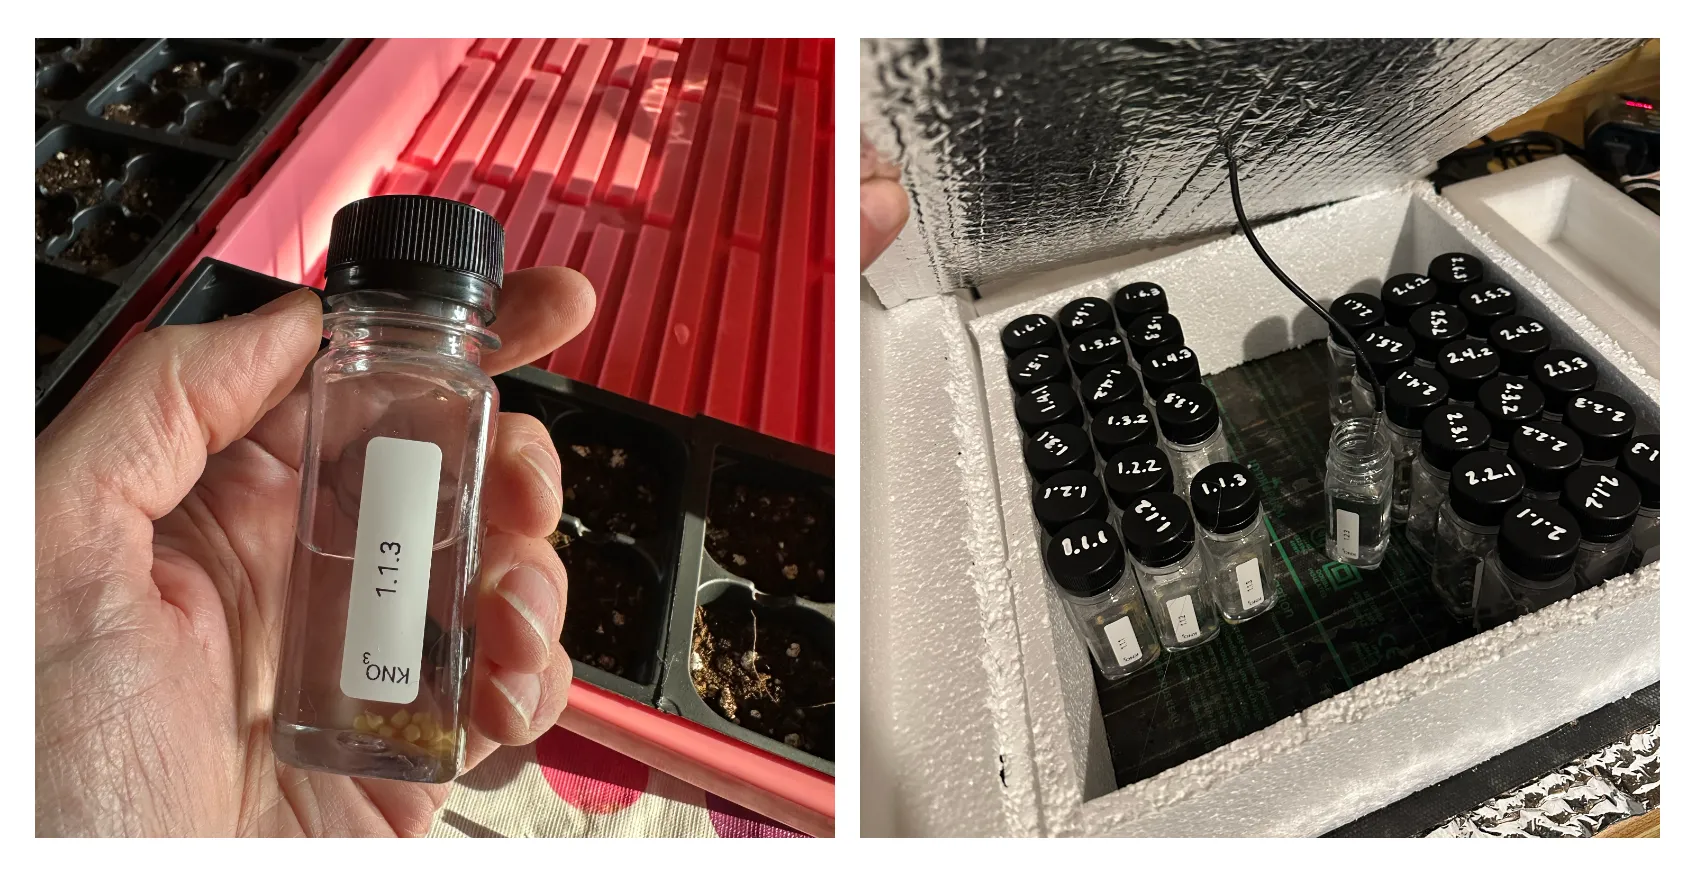
I soak my seeds in a 2% solution of potassium nitrate (KNO3) because there are published data in the academic literature showing its effectiveness.
- Mix a 2% KNO3 aqueous solution by dissolving 2 g of KNO3 per 100 ml of water.
- Fill small bottles half full of the solution, or less. I use these 2 oz. bottles because they have a mostly square cross-section so they pack together nicely.
- Add seeds to soaking bottle.
- Place the filled bottles on a temperature-controlled heating mat. I reserve one bottle filled with water, and that’s where I put the temperature probe.
- Once all the bottles are done, I surround them with a little Styrofoam “corral” and cover the whole setup with another piece of styrofoam insulation. The top piece has a hole through which I pass the cable for the temperature probe.
- I set the temperature controller to 28°C which is about 82°F.
- Soak for 24 hrs.
Germination
The choice and preparation of germination media is important. I start with ProMix germination media which I carefully sift to remove larger wood bits that may impair fragile early root growth. I mix the sifted material 2:1 with vermiculite. I do not sterilize the germination medium as some do. It’s a lot of trouble, and I have good results without it. Some growers add other supplements to the germination mix, but it really isn’t necessary. All you are looking to do right now is provide a light medium that balances moisture and drainage while providing a loose substrate for the early roots to grow. Compaction and density are your enemies right now.
Germination enclosures
I use 2x2 plastic germination enclosures which fit in a standard 10x20 tray in a 3x5 grid. I label each one with a numeric code like 1.2.3 (first tray, second row, third column.) This prevents me from having to relabel them from year to year as the varieties change. I just keep a spreadsheet that links the code to the variety planted. The labeling is done with a white acrylic marker.
Before filling the planting cells, I pre-wet the medium so that I have a rough idea of how expanded the mix is going to be. Otherwise, if you pack the cells with completely dry media, when you add water, the cells will likely overflow as the material absorbs water and expands.
Filling the enclosure and planting
When I fill cells, I leave about 1 cm headroom from the top of the cell, for reasons I’ll explain in a moment. I typically plant 1-3 seeds per cell, depending on how reliable I expect the germination to be. Planting depth is about 4-5 mm. After planting all of the cells that go into a single tray, I flood it with several cm of warm water and allow the medium to fully absorb the moisture. After the cells have fully absorbed the water, then I dump out the excess.
Heating trays
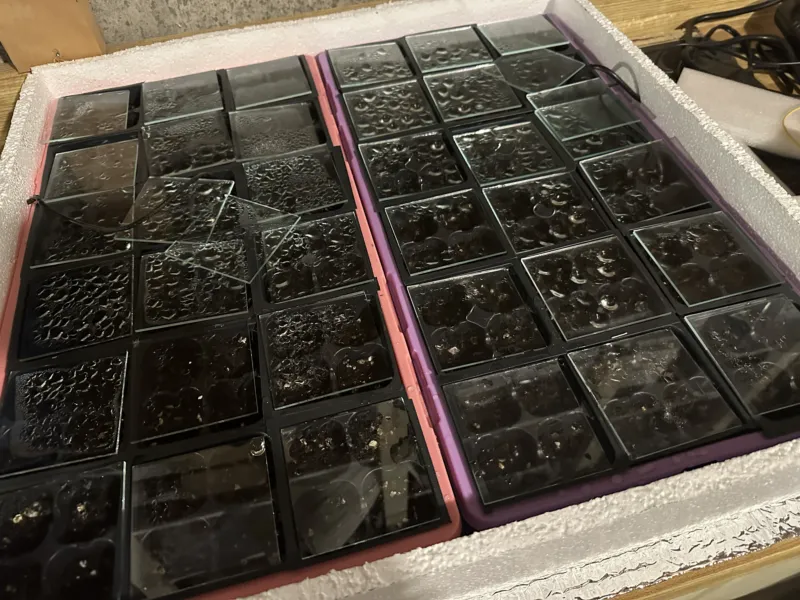
When I’ve completed two trays, I place them side-by-side on a large heating and surround them by a 4-sided box made from Styrofoam which is cut to size and lined with reflective Mylar film. This serves to maintain a constant temperature across the trays. After everything is placed, I place a 3x3" square of glass on top of each 2 cell x 2 cell unit that serves to create a mini-greenhouse, maintaining moisture and temperature levels under the glass. And by leaving some headroom, I allow a bit of room for the seeds to sprout without immediately hitting their heads on the glass. As with the seed soaking apparatus, I cover the whole setup with a Styrofoam cover lined with Mylar film and thread a temperature probe through a hole in the top. Again, I do everything possible to maintain a constant temperature around 28° C.
Post-germination
I begin checking for signs of germination around the 3rd day. I did see one or two varieties that germinated on day 3. Using these techniques and conditions, no varieties took longer than 9 days to show signs of first germination. Not every seed of every type germinated; but first germination appeared in all by 9 days. This is considerably faster than is often reported especially with certain C. chinense and C. pubescens varieties, so I think that optimizing pre-treatment and germination temperature and humidity has some effect.
Handling disparities in germination rates
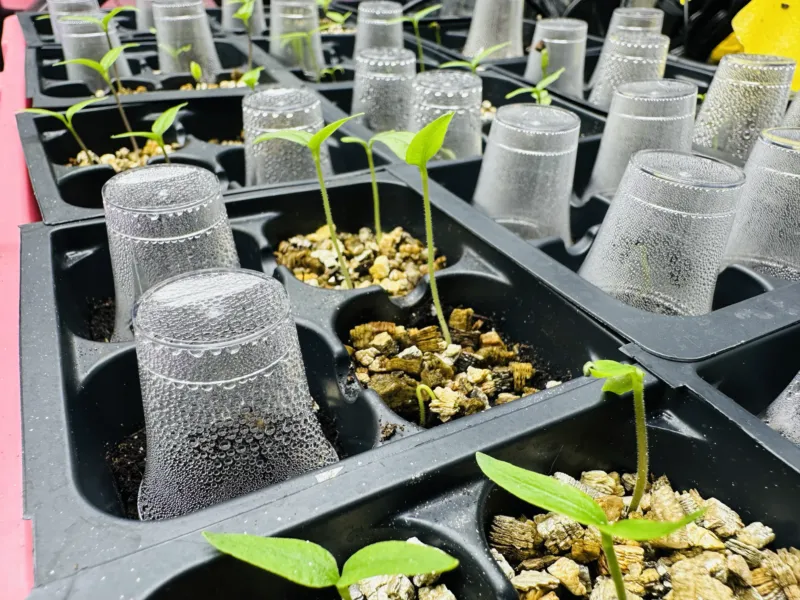
Once the first seedlings begin to touch the glass plates, I remove the plates and move the 2x2 cell unit to another tray under lights. However, that may leave one or more cells uncovered before germination. Since this isn’t ideal, I cover the ungerminated cells with an inverted plastic communion cup which I bought in bulk from Amazon. This creates a little humidity dome for the ungerminated cells, while leaving those cells that have already germinated more open.
Humidity domes
Personally I’m ruthless with removing humidity domes. Excessive humidity and warmth create the perfect conditions for the fungi that causes damping off disease to flourish. Once a majority of the seedlings have emerged, I remove the humidity dome and just manage soil moisture levels through bottom watering. This encourages good root growth and avoids excessive dampness at the surface.
I will cover the topic of continued indoor grow-out in a subsequent post.
Notes
-
For the 2025 growing season, I started everything on January 20. But this was way too early and I ended up with some plants that were nearly 3 feet high by the time I was able to plant them outside. While it’s more efficient to start everything at once, it does risk having to deal with monstrously large plants indoors if the outside temperatures do not rise as quickly as hoped. ↩︎